
I'm not a nutritionist or doctor; I'm sharing this today so that hopefully it will help some of my other Mommy friends who are starting their babies on solids soon and want to cook their own baby food. ANY questions you have about your baby and food you should always check with your pediatrician!
 One of the greatest stressors I have faced as a Mother is in
the daily feeding of my daughter. When she
was a newborn and I was actively failing at breastfeeding I was worried she
wasn’t getting enough, not latching correctly, “Why is she fighting me??!”
moments…the list goes on. Fast forward
to her 4 month well-baby visit and her pediatrician gives me the green light to
add rice cereal to her diet, another feeding baby freak out (will starting her this early cause allergies, etc). I didn’t start her on cereal until she was
5.5 months and we have moved on through all the veggies and fruits – just purchasing
pureed baby food from the store. But
when it came time to start introducing meat – well, I just didn’t feel good
feeding her a meat product that came in a shelf stable package. And then there’s the business of grinding it
up…I mean, have you tried pureed meat?
Ew, gag.
One of the greatest stressors I have faced as a Mother is in
the daily feeding of my daughter. When she
was a newborn and I was actively failing at breastfeeding I was worried she
wasn’t getting enough, not latching correctly, “Why is she fighting me??!”
moments…the list goes on. Fast forward
to her 4 month well-baby visit and her pediatrician gives me the green light to
add rice cereal to her diet, another feeding baby freak out (will starting her this early cause allergies, etc). I didn’t start her on cereal until she was
5.5 months and we have moved on through all the veggies and fruits – just purchasing
pureed baby food from the store. But
when it came time to start introducing meat – well, I just didn’t feel good
feeding her a meat product that came in a shelf stable package. And then there’s the business of grinding it
up…I mean, have you tried pureed meat?
Ew, gag.
So I waited and as it turns out lady luck threw me a bone
and Emma started to detest the purees altogether around 8 months (when her
Doctor said she would need to start eating meat). She would spit it out, the spoon became a toy
(which means I couldn’t have it back to put more food on it), and feeding time
became a chore/nightmare. Thank goodness
she was ready for finger foods (more than just those little puff things) as we
soon discovered she would rather just do it herself (and Momma got her hands
free)! But this meant I had to start
cooking due to my trust issues with shelf stable meat products. So cook I did, and it’s really not
that hard – all you need is a crock pot, some steamed fresh or frozen veggies and a muffin tin. I have read numerous blogs that also use an ice
cube tray for purees but a muffin tin has been great for me so far.
I scoured the web for baby food recipes and most are for
baby food purees and not very appealing (well, to me). The main thing I learned about making your
own baby food is to watch the salt and sugar.
Babies really don’t need these in large quantities. Now that Emma is a little older, we are
experimenting with seasonings, etc. But
her first meals were pretty plain.
I also try to cook everything from whole foods (I do buy
whole grain pasta from the store) and rarely use stuff from cans. The recipe I’m going to share with you today
does have a can of black beans in it, but I rinsed and soaked the beans to make
sure the majority of the salt is removed.
So, for me this is a 2 day process. I think soft meats that are poached in the
crock pot cube up more easily when they are cold. So I cook my meats the day before I’m ready
to freeze some baby food.
For this round of dinners I bought a package of 4 chicken
breasts. Wash them up, trim the fat and
place them in your crock pot covered in water.
I should have added more water because all that water will get nice and
yummy and that will make some good gravy!
Plus I’ve read that when you poach meat in water all the goodness
travels out of the meat into the water so making gravy is one way to make sure
you keep your goods. :)

I cooked these on high and they were done in 5 hours. Now a crock pot gravy tip I learned from my
Mother: An hour before you expect them done, mix up 2-3 Tbsp of flour with
about 3-5 Tbsp COLD water (maybe more, you don’t want to make glue it should be
kinda watery). I use an old mayo
container to shake it because you want to make sure the flour is mixed up good
(another good tip from my Mother). If
you just dumped the flour in there you would end up with lumpy gravy – nobody likes
lumpy gravy. I stir in my slurry mixture
around the chicken and re-cover to let it thicken. It works great, thanks Mom!

When everybody is good and cooked just pack this away in a
container in the fridge (make sure you scrape out all that gravy) and we’ll
deal with it tomorrow. Now pour yourself
a glass of wine or something!

The next day bust out your muffin tin. That’s right – we are going to use the muffin
tin to assemble, portion, and freeze our baby meals.
Let’s assemble our ingredients:
·
Drain, rinse and soak a can of black beans (or
make some from dried beans).
·
Wash, seed and petite dice one roma tomato
·
Finely chop a small amount of cilantro (about 2
Tbsp)
·
Dice two of your chicken breasts (you want the
pieces small so baby doesn’t choke – about the size of a pea or your pinkie
nail).
·
If you want to add some spice (not too spicy),
you can make your own taco seasoning. I
did, it was easy. I adapted a recipe
from Whole New Mom going light on the pepper and omitting the salt/red pepper flakes. I halved
the recipe too because I wasn't sure how this was going to turn out. 1 Tbsp of the homemade
taco seasoning was just right for 2 breasts and some gravy.
 |
| The line up for the taco seasoning. |
 |
| Layering the ingredients. |
I suppose you could just mix it all together in a big bowl
and then divide it up in the muffin tin.
For some reason, I don’t do it this way.
I “layer” it. I start with the
beans, then add some tomatoes, a little cilantro, and top it all off with my
taco chicken/gravy mixture. Give a
little press and your ready for some plastic wrap and to throw it in the
freezer. It should be frozen later that
night but definitely by the next morning.
 |
| My chicken, a little gravy and my taco seasoning mixture. Next time I'll warm up with gravy and mix in the taco seasoning - then fold in the cold cubed chicken. I kinda mashed it up doing it this way. |

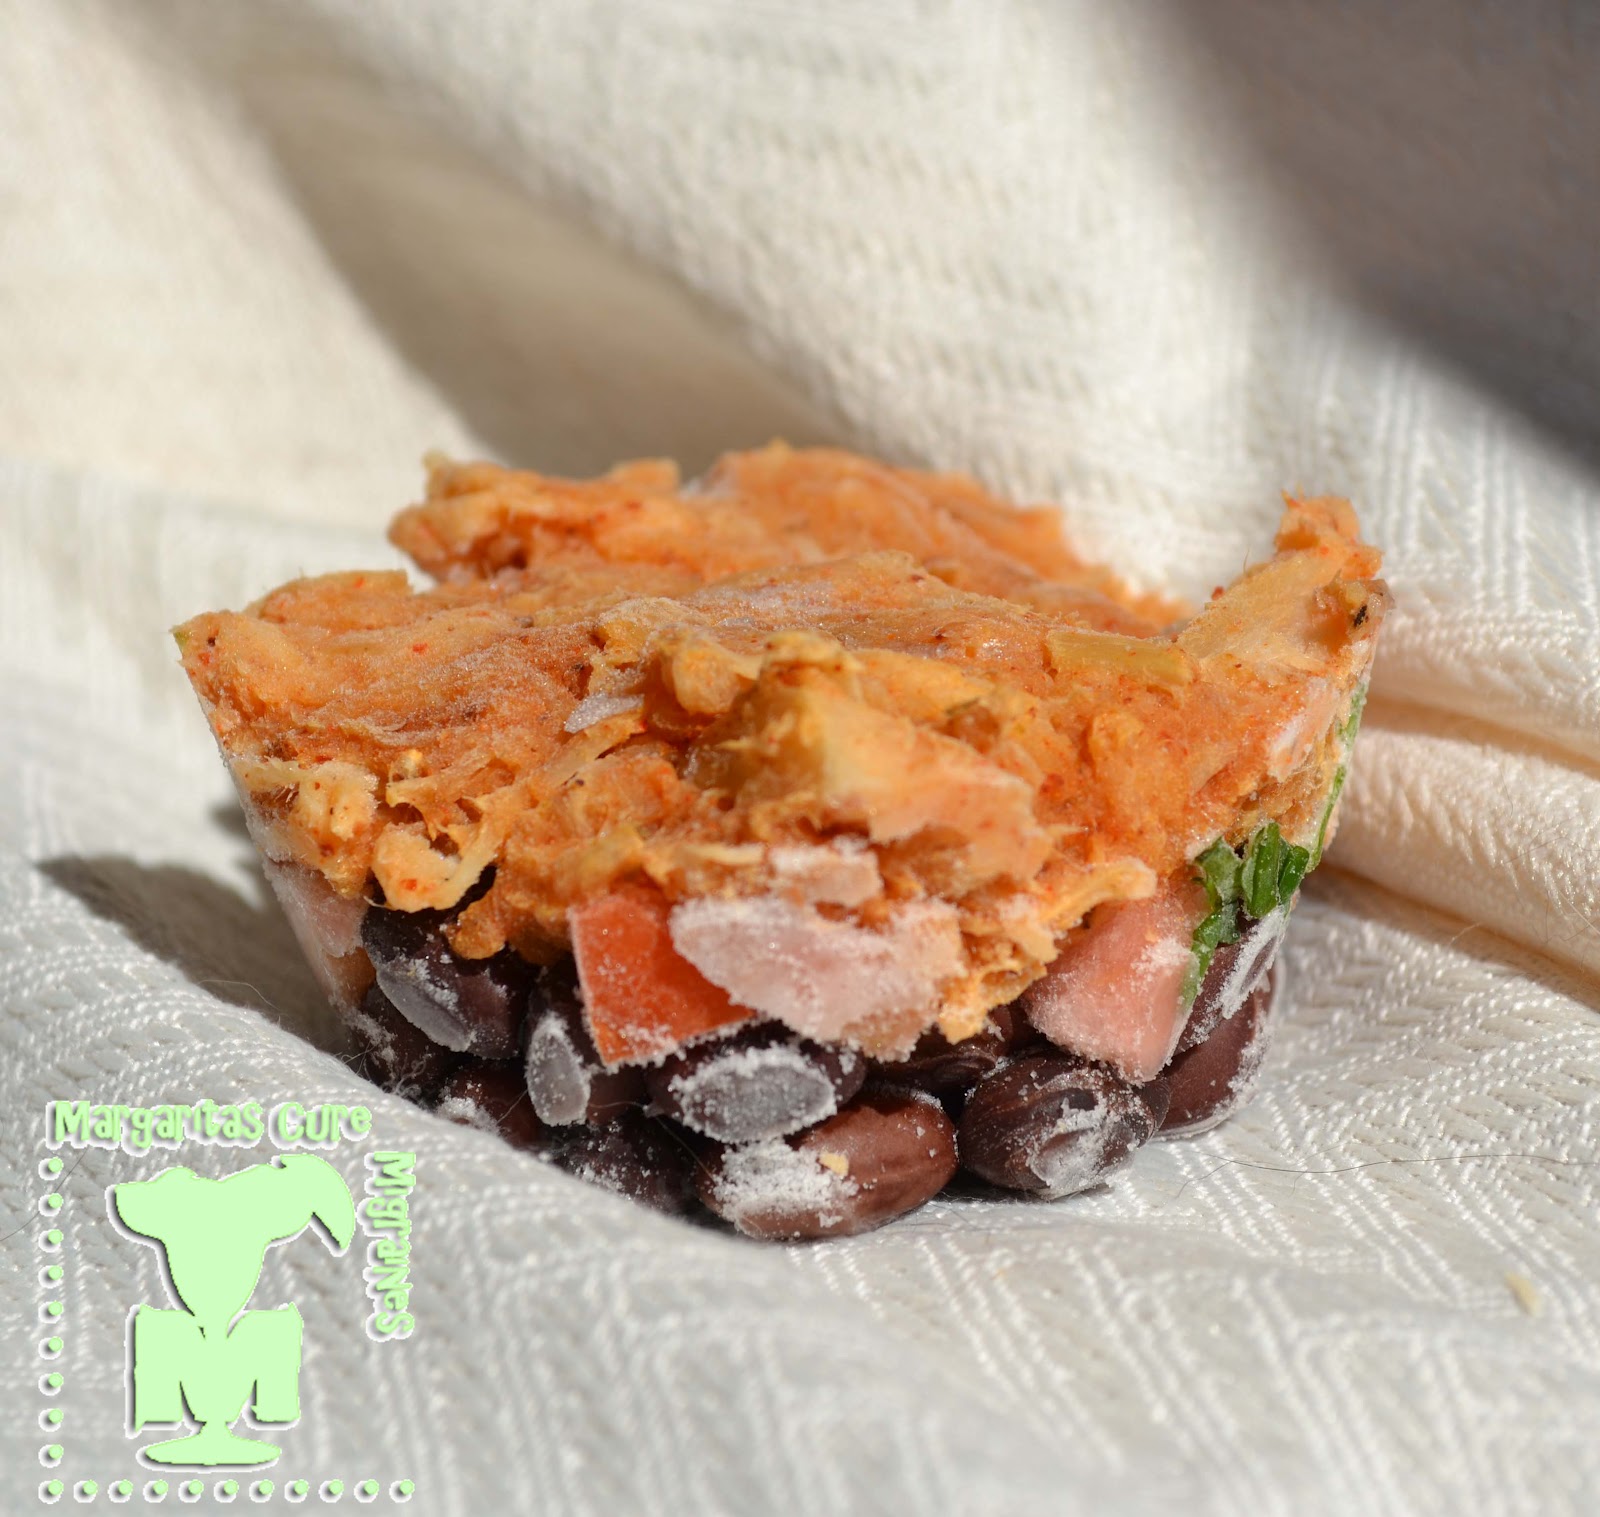 |
| A bit on the frosty side but they have never tasted freezer burned or anything. |
 |
| All warmed up and ready to go. She what I mean about the mashed up chicken?? Super soft but she had some chunks to grab up. |
 |
| Another satisfied customer! |
Every week I make a new flavor with different veggies, meats, and pasta. I’ll try to get them up here.
Some of the meals Emma has enjoyed:
·
Roast turkey (I used the wings – next time I
will roast up some thighs), with carrots, celery and onions over whole grain
macaroni
·
Pork loin with apple gravy (fancy, huh…I just
plopped a small pork loin in the crock pot and covered it with apple juice and
water), sweet potatoes, peas and whole grain macaroni
·
Chicken (boneless, skinless thigh meat) and broccoli
with potatoes
·
Chicken breast, potatoes, peas with gravy
Meals I’m planning:
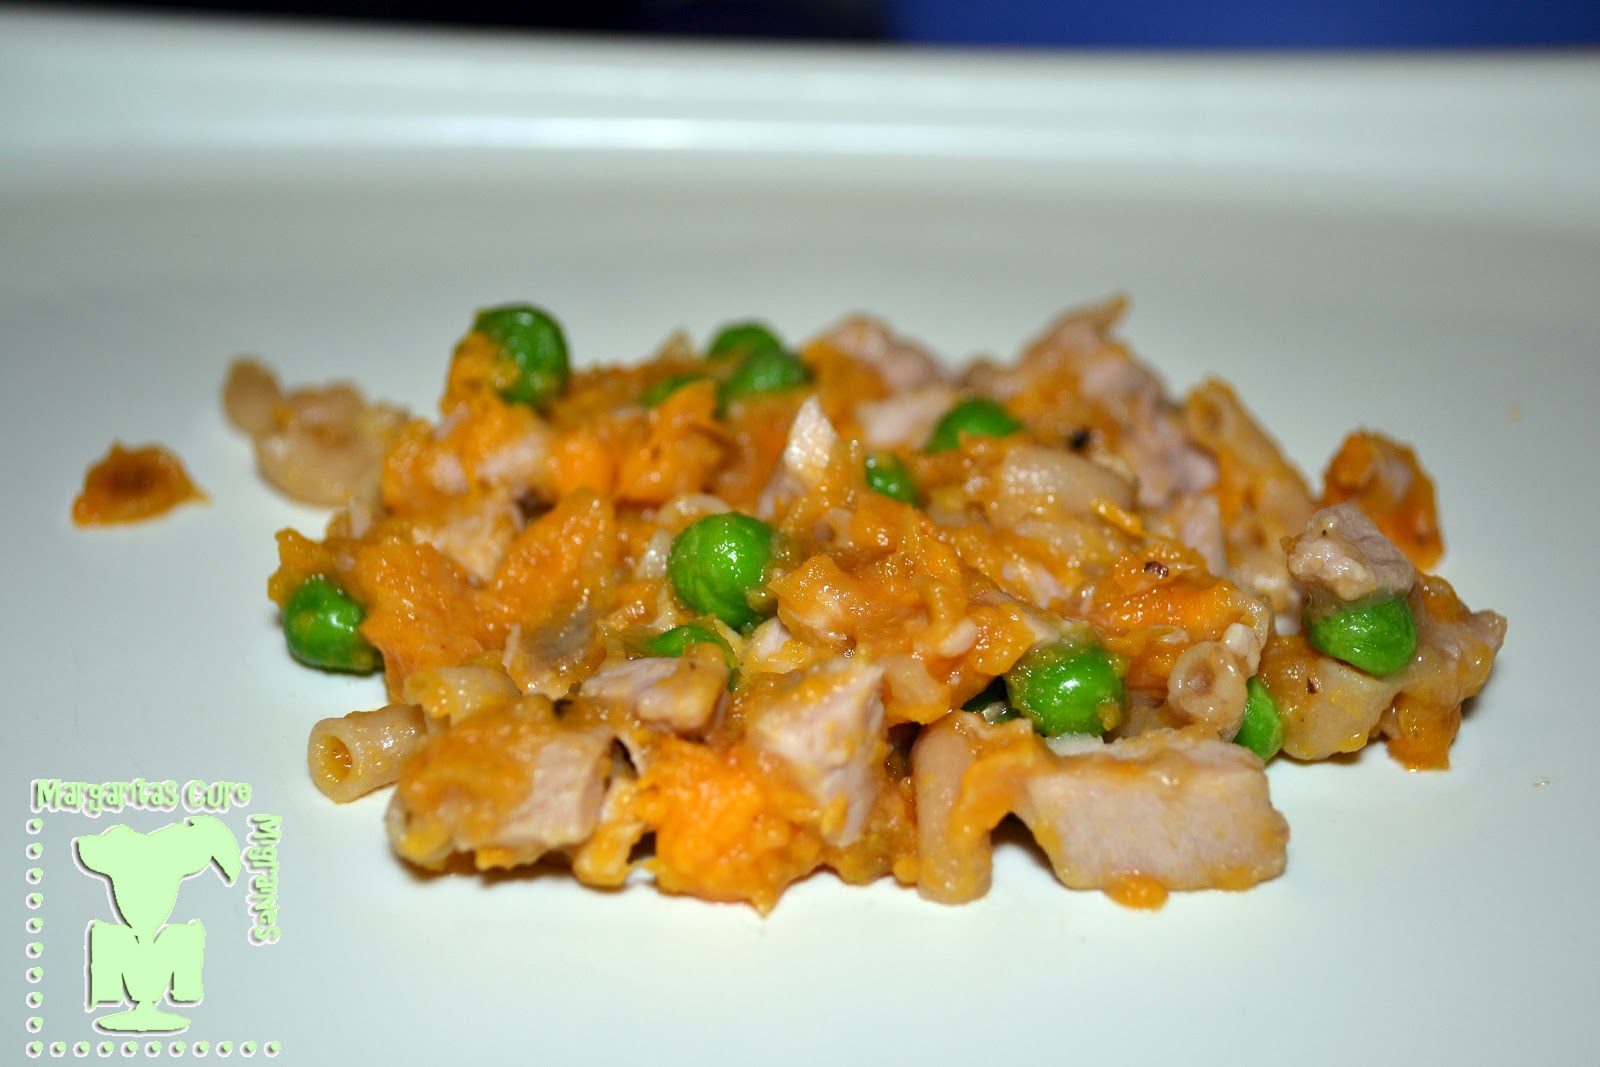 |
| Pork and apple gravy with sweet potato, peas and whole grain macaroni. |
·
Chicken, macaroni and cheese with broccoli
·
Beef, potatoes and green beans
·
Something with quinoa
·
Something with chopped spinach
Not only is making your own baby food cheaper (a package of 6
organic meat toddler meals is like $9 – I pretty much get 12 or more for this
price) and you know exactly what’s going in your baby’s food because you put it
there!! Plus you can cook baby friendly
versions of what you make at home and hope to avoid a picky eater later in life
(one can dream, right)!
These seem like they would travel well too. We are planning a beach trip soon so all I
will have to do is pop some in another bag and take along in the cooler until
we get to the hotel.
And I have caught Daddy stealing pieces off of Emma’s tray
before so if he’s willing to eat it, you know it’s good!
If you have any good baby food recipes I would love to try
them!
+copy.jpg)


+copy.jpg)


+copy.jpg)


+copy.jpg)
+copy.jpg)